
The post-production process includes a core group of editorial, sound, color and effects teams responsible for creating the final elements that make up the visual and audio final mix and completed master for a project. These team members include the video editor, sound engineers, foley artists, colorists and more. In video, film, and other visual mediums, these individuals work together to ensure the production is completed on time and on budget.
With so many moving parts, it’s essential to the project management that everyone involved in post-production is following the same playbook. Therefore, creating a communication friendly workflow is key to a seamless and successful final product.
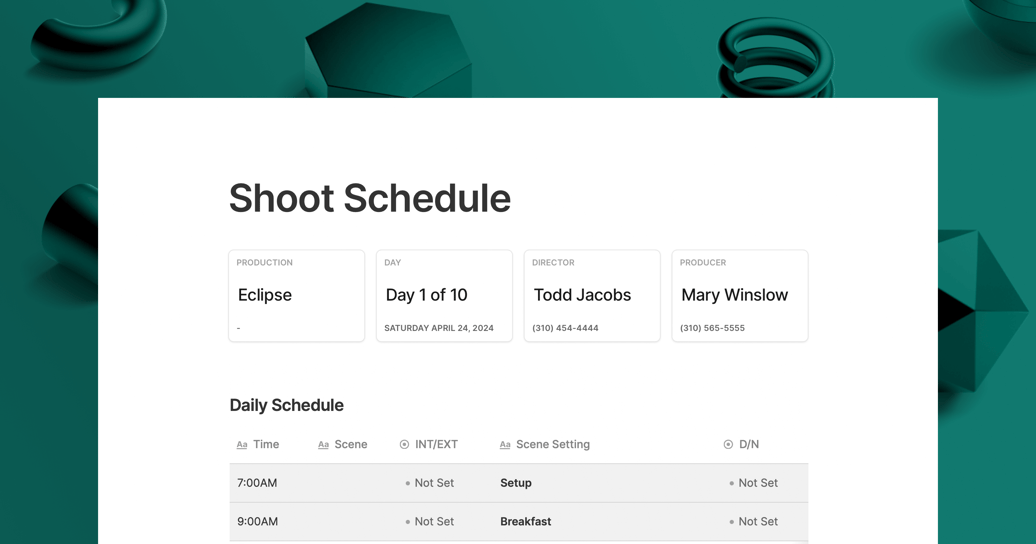
This template includes a full post-production calendar, folder structure, and documents such as a voiceover script template and more.
Click Use Template to get started with this template today, and if you're interested in learning about the entire process from pre-production to post, make sure you check out our video production workflow template.
Film Post-Production Workflow in 7 Steps
We’ve identified seven important phases of the film post-production workflow process.
- Capture
- Editing
- VFX
- Conform
- Color
- Sound
- Delivery
1. Capture
One of the most important steps that kickstarts post-production is “capture”. Capture simply refers to the raw footage captured during principal photography. Cameras offer many options when it comes to capturing raw footage and this can influence the film or video production process. For instance recording video in log has the benefit of retaining more color information. This could be extremely helpful for the colorist, giving them more freedom when color grading and correction in the raw footage. Once you have the raw footage, it moves to editorial and that is when the post-production workflow process really begins.
After the footage is shot, it is saved on a memory card or SSD. Making sure that the footage is stored in multiple places is crucial. During backups, specialized software utilizes a checksum, which can be compared to a digital fingerprint. Checksums ensure that files on backup hard drives are exactly the same as those on memory cards.
The footage that comes from the shots is called dailies or rushes. A DIT (Digital Imaging Technician) is the one on the production team that ensures the footage is ready to be sent to the filmmaker and producers. DITs establish a workflow for production and post-production crews that works for both parties. A successful transfer of material from set to editors relies on this process.
DITs establish standards, best practices, and maintain the exposure and color baseline throughout production to ensure image quality never deteriorates. They also work with the camera operator by observing in the monitor for potential issues such as boom shadows or lens flares so they can make adjustments.
The DIT must do several things before sending the footage, including organizing it.
It is the DIT's responsibility to sync audio and video files along with organizing footage. Despite cameras' ability to record audio and video on the same file, it is still common to record audio separately, something called dual-system sound. Metadata must also be managed. Video metadata includes information such as location notes, script notes, card labels, and log notes. A script supervisor documents the metadata.
A camera's footage is generally unsuitable for editing, and it's difficult to play back the footage on a typical computer, so it needs to be transcoded (transcoding is the process of converting files from one codec to another). This means taking the hi-res files and converting them to lo-res files strictly for editing. There are hundreds of codecs that can be applied, but some of the most commonly used are:
- H.265
- H.264
- Redcode
- ProRes
- DNxHD
Two teams look at dailies; the editorial team and the review team, which is made up of the producer(s), director, and if applicable, client.
As soon as the dailies reach the editor teams, the assistant editors begin to prepare for the next step, checking that all the files are undamaged, and making sure that audio and metadata have been synced correctly. The assistant editors will then copy the daily files to their central shared storage.
2. Editing
An edit-friendly codec must be converted to the footage before editing can begin. Once the files have been transferred into the central shared storage, the assistants begin organizing them in the NLE (video editing software) according to the lead editor's preferences. Depending if the editors need metadata in the editing process, then the assistants will make sure to tag and categorize the new footage.
The assistants will also build string outs, where they create a timeline and arrange clips for each scene. Initially, the editor watches each take and makes notes by positioning markers on the timeline or selecting their favorite takes on a different track or timeline.
This now takes editorial into offline editing, where the team uses this lower resolution footage to focus on storytelling. They put together a first assembly which has limited edits. This involves taking the footage that might have been shot out of sequence and loosely putting it together in real time to get a sense of the whole story. The assembly then moves to a rough cut version where the editor works through each scene, re-editing to find the best takes. Once the editor has a good working version of a scene, it will be placed back into the assembly so that the cut gradually becomes more complex.
The rough cut keeps the sound and picture in sync and the editor begins to mute or delete unwanted sounds. They rarely add sound here as sound mixing comes later in the process. After each scene has been considered separately, the first rough cut is created, and it is placed into the edit. At this point the director and producer may view and give notes, or the editor may take a few more passes at a finer cut before getting their feedback and notes. All work together through multiple revisions until the creative team gives approvals for the final version, called picture lock.
3. VFX
The next production stage is VFX (visual effects). The VFX team will begin working on the footage by selecting the takes that need VFX or CGI. It’s a good idea to provide the VFX team with a copy of the rough cut which will include the editor’s placeholders for the VFX. This way they can get the big picture on how the effects fit in with the overall storytelling. Editorial placeholders could be title cards with shot description, storyboards or rough 3D animations. The VFX team will create the first draft of the footage in the NLE. After that, the editor will take a look at the first draft to make sure the desirable effects are achieved. When the editor is satisfied with the VFX placement in the footage, the VFX team will continue compositing the footage. When the VFX is done, the VFX team will start rendering the footage and send it back to the editorial team. As always, it is advisable to back up the files sent by the VFX team.
4. Conform
After the video editing is done, the next step is to conform. Conform means to convert the locked edit from the edit team to a format that the color and audio teams can use in software. A conform is intended to ensure that all files contain no errors, most importantly the metadata. This stage is crucial because it is about preparing materials and files that will be forwarded to the other teams. It is sometimes handled by the editing team, but usually by the colorist.
It is at this stage that you connect those low-resolution files with the original, high-resolution footage, a process known as online editing. Next, color correction, effects, final titles, and audio will be added, until the finished film is exported at the end of the online stage.
5. Color
Color grading and correction follow the edit team and VFX team's work. In some cases, color comes before VFX. This is because the VFX artist can create more realistic visuals when they have an authentic starting point, but it also it may be a better use of the colorist's time to correct the footage and VFX together. During this step, the colorist makes adjustments and enhancements to the footage where the desired aesthetic for the video is created. Color grading contributes to conveying a certain mood or tone. Whereas color correction is about fixing issues that may have happened during the shoot (such as differences in lighting during takes or the removal of a blemish on an actor), color grading is more about supporting the director’s vision for stylistic effect. It is integral to the audience's understanding of what the filmmaker deems important, as it can direct the eye and influence emotion. It is an incredibly powerful tool to deepen and clarify themes and emotion.
6. Sound
Once the visual elements are in place, it’s time for the sound design. In the final mix, the sound editor will ensure that dialogue, foley, and other sound elements making up the sound editing are all perfectly balanced. This includes production dialogue editing, ADR recording, voice-over, noise reduction, sound effects, plugins, music composition and scoring. Then it is mixed and mastered and the final audio is encoded and exported.
7. Delivery
The final step is to package and optimize every piece of media for different mediums, such as the web, broadcast, theatrical or mobile. Title, head and tail credits, and any needed graphics are created. Closed captions, which are a textual representation of the audio within a media file, are generated by providing a time-to-text track in addition to or as a replacement for the audio. These services make the media accessible to people who are deaf or hard of hearing. The text in a closed caption file is primarily speech, but captions also contain elements like speaker IDs and sound effects that are crucial to understanding the plot of the video.
Similarly, subtitles are produced, which are translations that are available in other languages and are a form of closed captioning. They are used to translate the audio into the viewer's languages. In subtitles, non-speech elements of audio are not included (such as sounds or speaker identifications).
What is the Most Important Step to Take in the Post-Production Workflow?
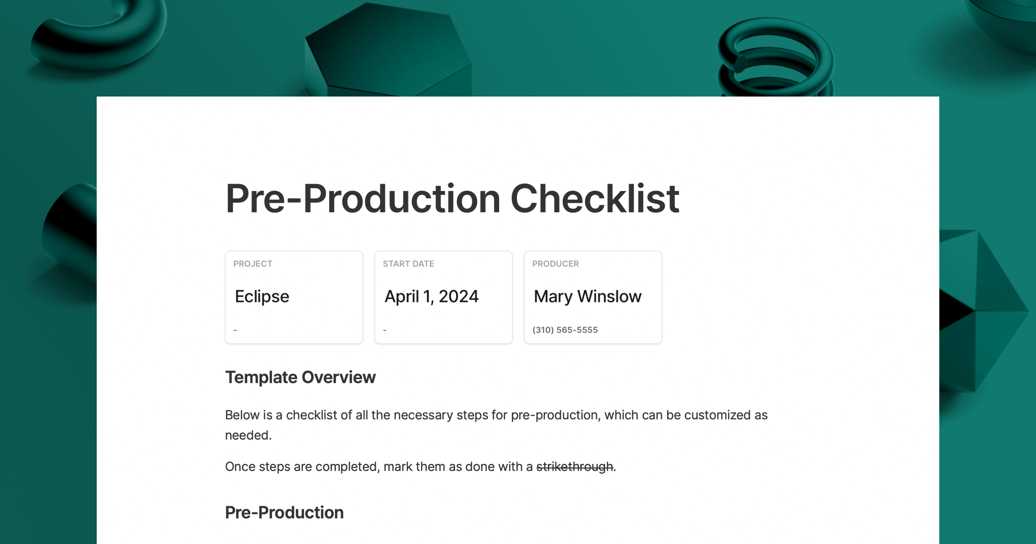
The most important step in the post-production workflow starts in pre-production by creating a step-by-step production checklist. This ensures that by the time you get to editorial everything is in place for a smooth transition.
With proper organization being key to success, you’ll want to utilize a post-production workflow template that will serve as your roadmap and guide through the picture edit, conform, visual effects, color correction and grading, sound design & mix to final delivery.
Video Post Production Workflow: How it Differs from Film
There are differences between the video post production workflow and the film post production workflow, however the editing process is essentially the same once the material has been imported into the NLE.
Film to Film
After the first shooting day, the 35mm film leaves the set and arrives at a processing lab, where the film negative is developed. The developed film is prepped and sent to a telecine house, where it is converted into a video format. The telecine house will go through each take, one by one, and synchronize the sound to the image after the film has been converted to video.
This is called synchronizing the dailies. When the telecine house finishes synching the dailies, they either send a tape or a hard drive with the fully synced material to the editing room.
Video to Video
Just as in film, at the end of each shooting day the data needs to be transferred to start the transcoding process. However, since this is video to video there is no need for telecine. The footage can go directly to the post house, which should not have issues handling the original camera negative (OCN) that was recorded on Codex Drives, SxS cards or CFast cards. OCN, which was shot as QuickTime /ProRes can be edited natively in most editing tools such as Final Cut Pro or Adobe Premiere Pro and does not need further transcoding.
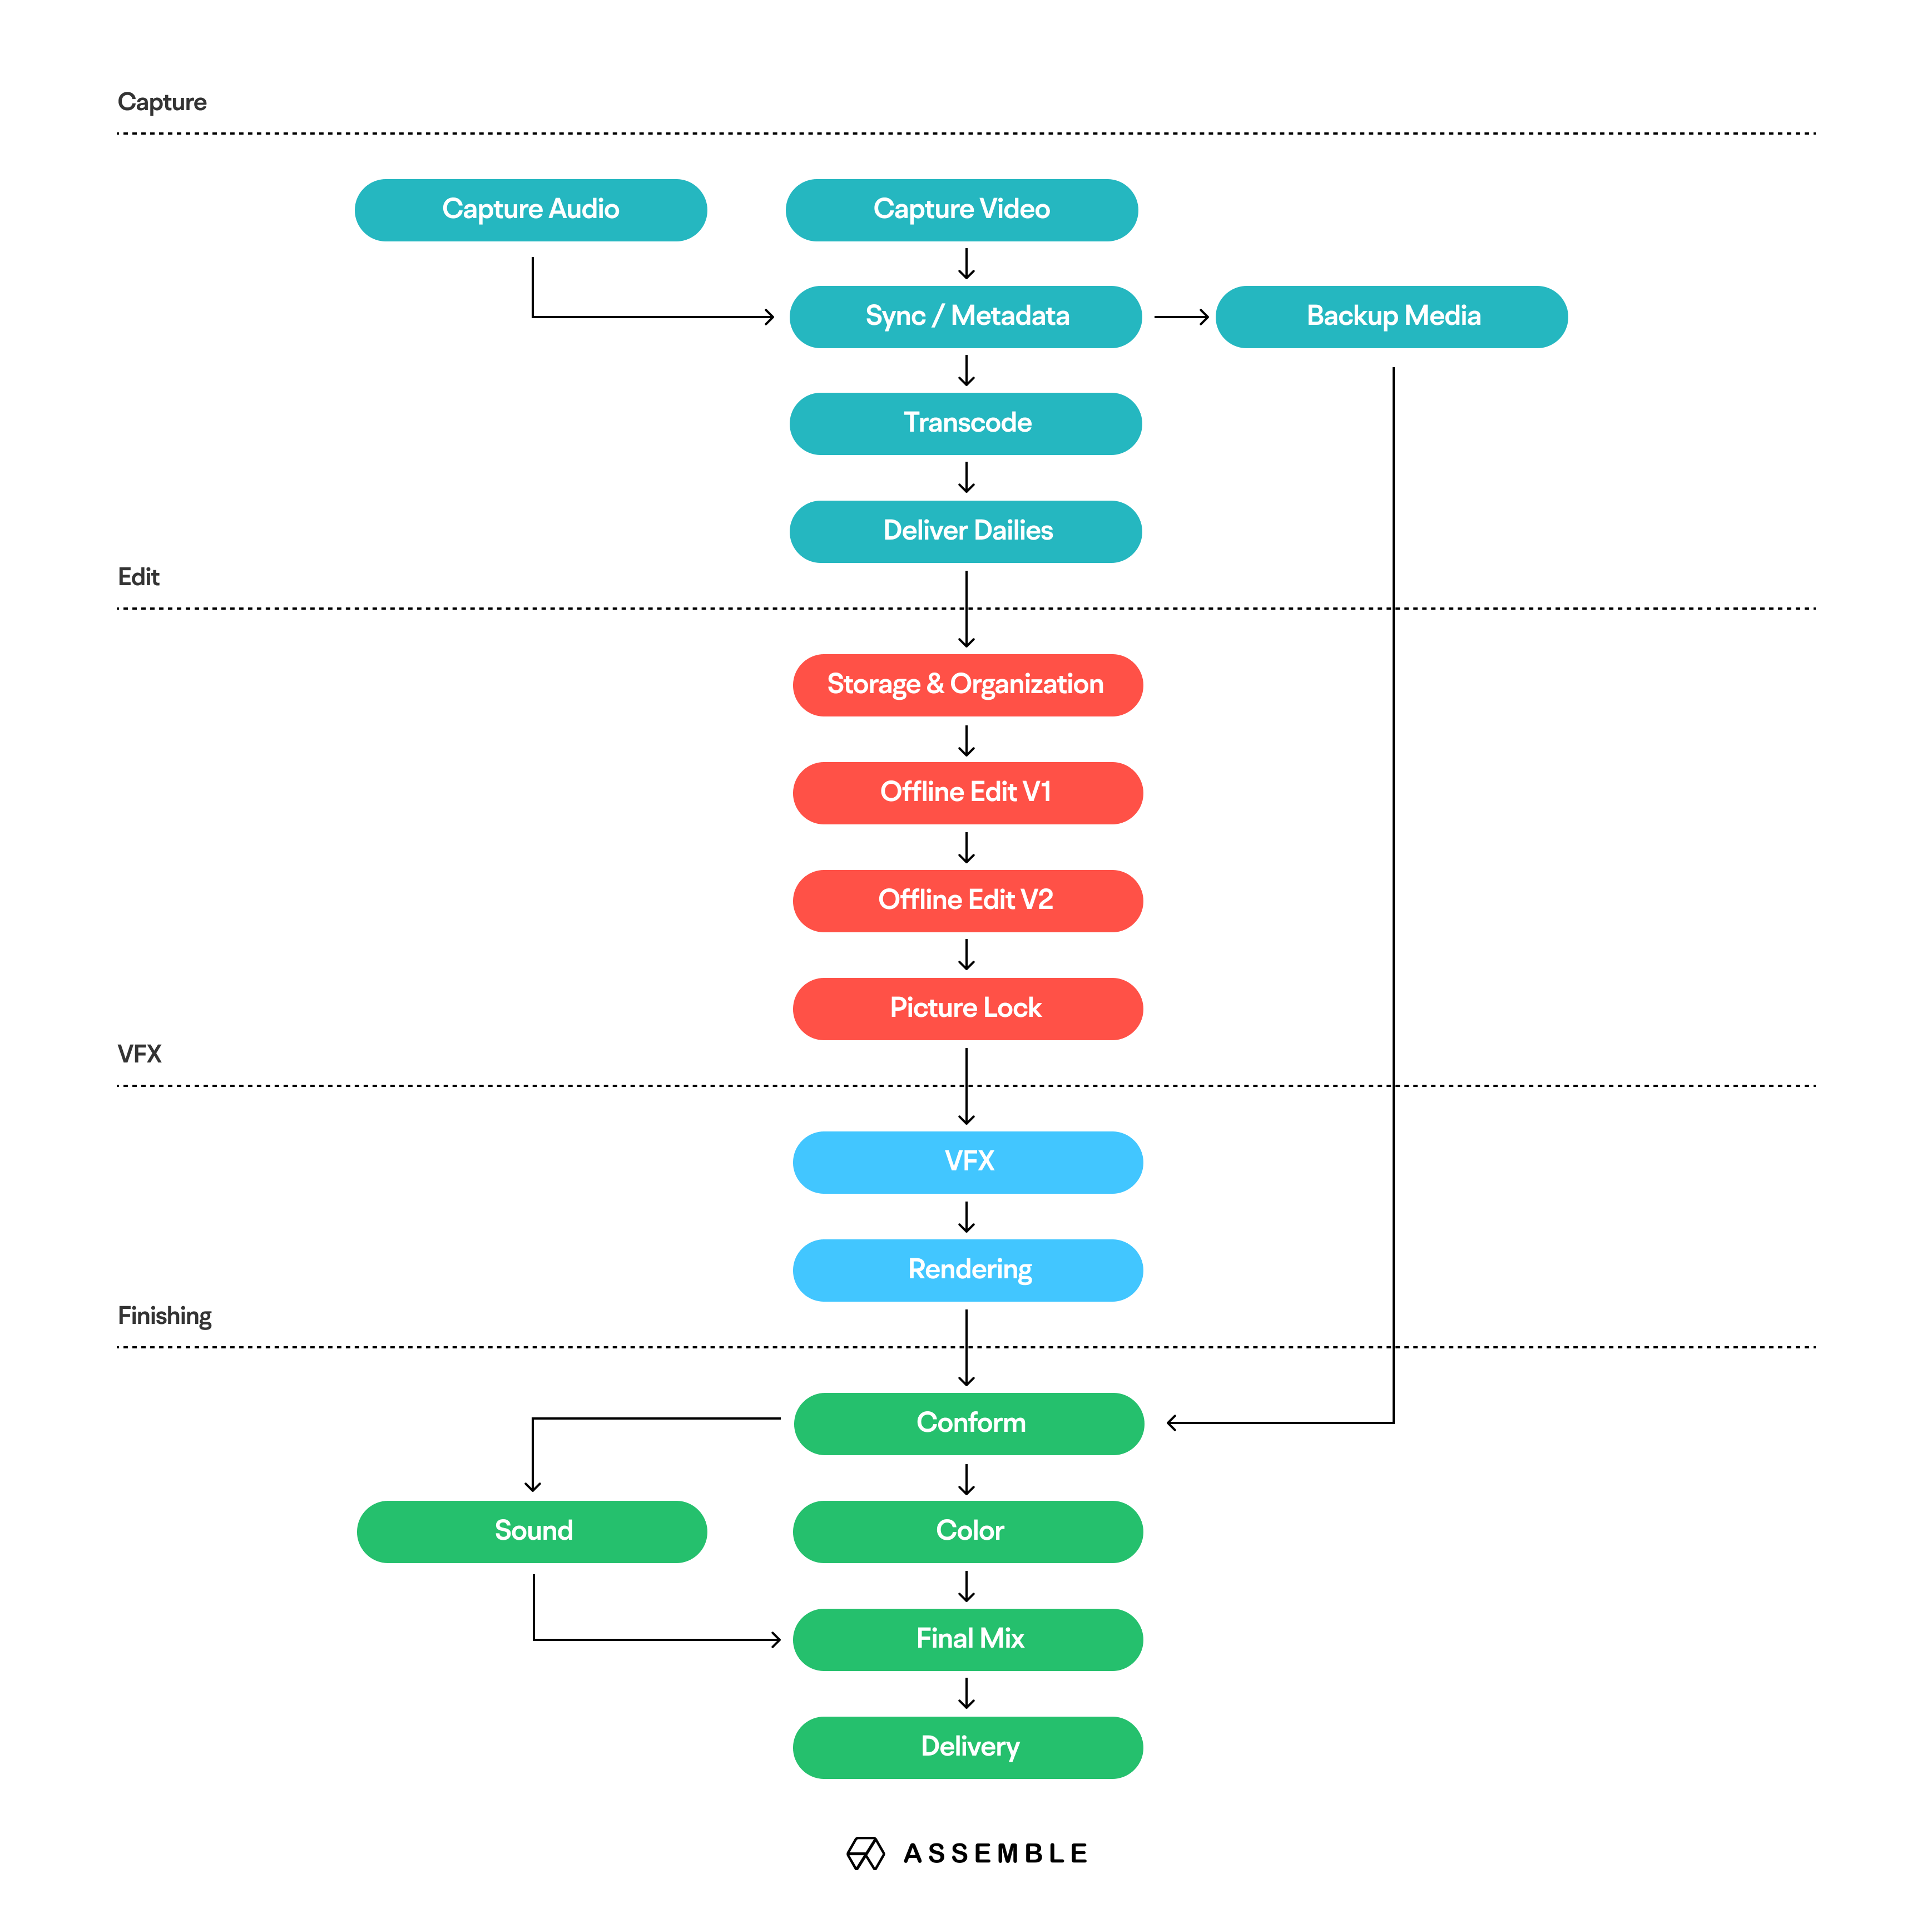
Post Production Workflow Diagram
Film is a visual medium. What better way to understand the overall workflow from first edit to final cut than with a post production workflow diagram. You can learn more in our blog article on video post production.
Post Production Workflow Template
We've created a professional post-production schedule to quickly get you up to speed on any project you are taking through post. This template can be customized in any way you like and used for feature films, high-end television, commercials, or any long form or short form content. To learn more about managing post production, be sure to also check out our blog article on mastering the film production schedule.
When to Use the Post Production Workflow Template
You would never get behind the wheel of a car without knowing your destination. The same logic applies when wondering when to use a post-production workflow template. From the moment of pre-production planning, elements of post-production should be in the mix. As they say, it’s not how you start that’s important, but how you finish. If you don’t anticipate the needs of completing your production, such as budgeting for special effects or ADR, you may not have a quality production at the end of the day.
What’s Included in the Template
This template includes a full post production timeline, including tasks for every step of post production from start to finish.
The phases in this template include:
- Creative: Script, storyboards and camera log.
- Capture: Outlining the acts / scenes.
- Editing: Edits, directors cut, executive / client cut, post assets and editors log.
- VFX: Graphics, animation, visual effects, titles and renders.
- Conform: Tasks to take edits from offline to online.
- Color: Color correction and color grading.
- Sound: Music, voice over and sound effects.
- Delivery: Masters, trailers and marketing assets.
This template also includes a professional folder structure for organizing your files and document templates for voiceover scripts and more.
Why Post Production Workflow Templates are Important
A film’s post-production process is the key to creating a finished product. Without it, you simply have raw footage that most likely on its own will not make any narrative sense.
All components of post-production enhance the storyline of the film. The film's score can heighten emotion, and color grading adds visual tone and texture. An effective editing process can bring a film or video to its full potential. That’s why having a post production workflow template that is easy to navigate ensures clear communication and a seamless post-production process.
Create your Post Production Workflow Template with Assemble
Upon opening the Post Production Workflow Template, you'll be presented with a fully built post production project. You can then customize this project as needed to suit your unique project needs.
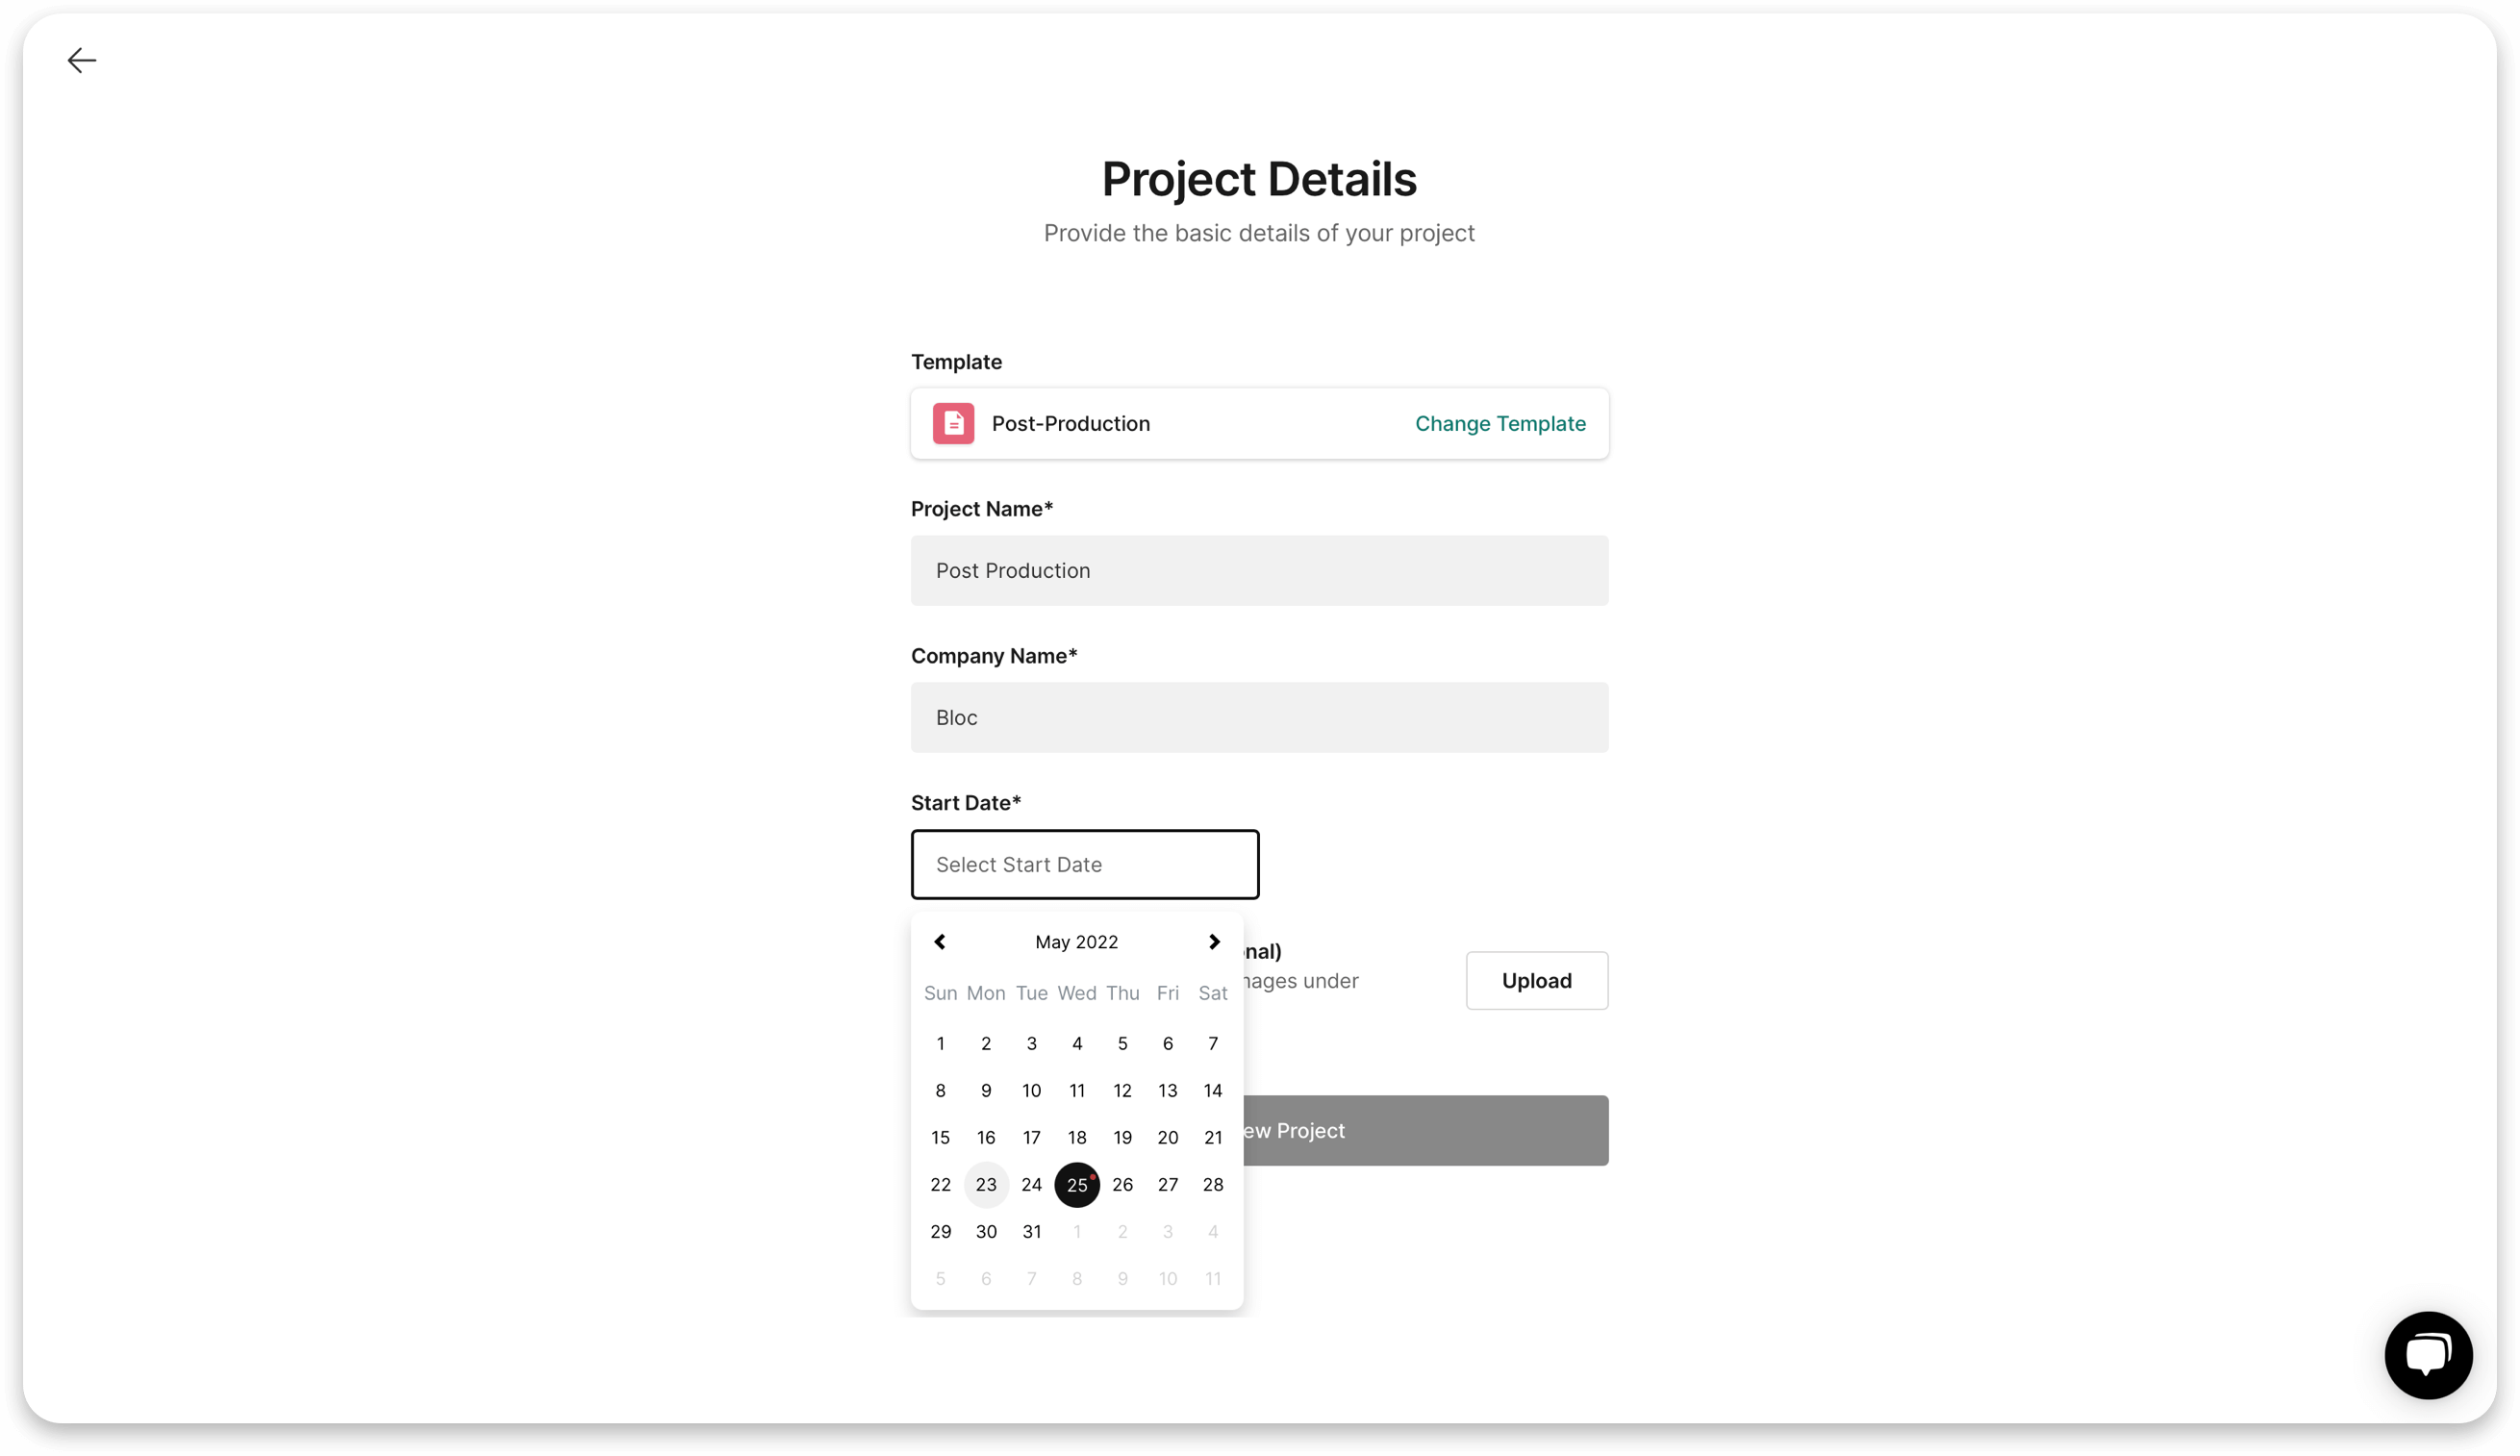
1. Setup Your Project
To get started, add your project name and company name, and then enter your project start date.
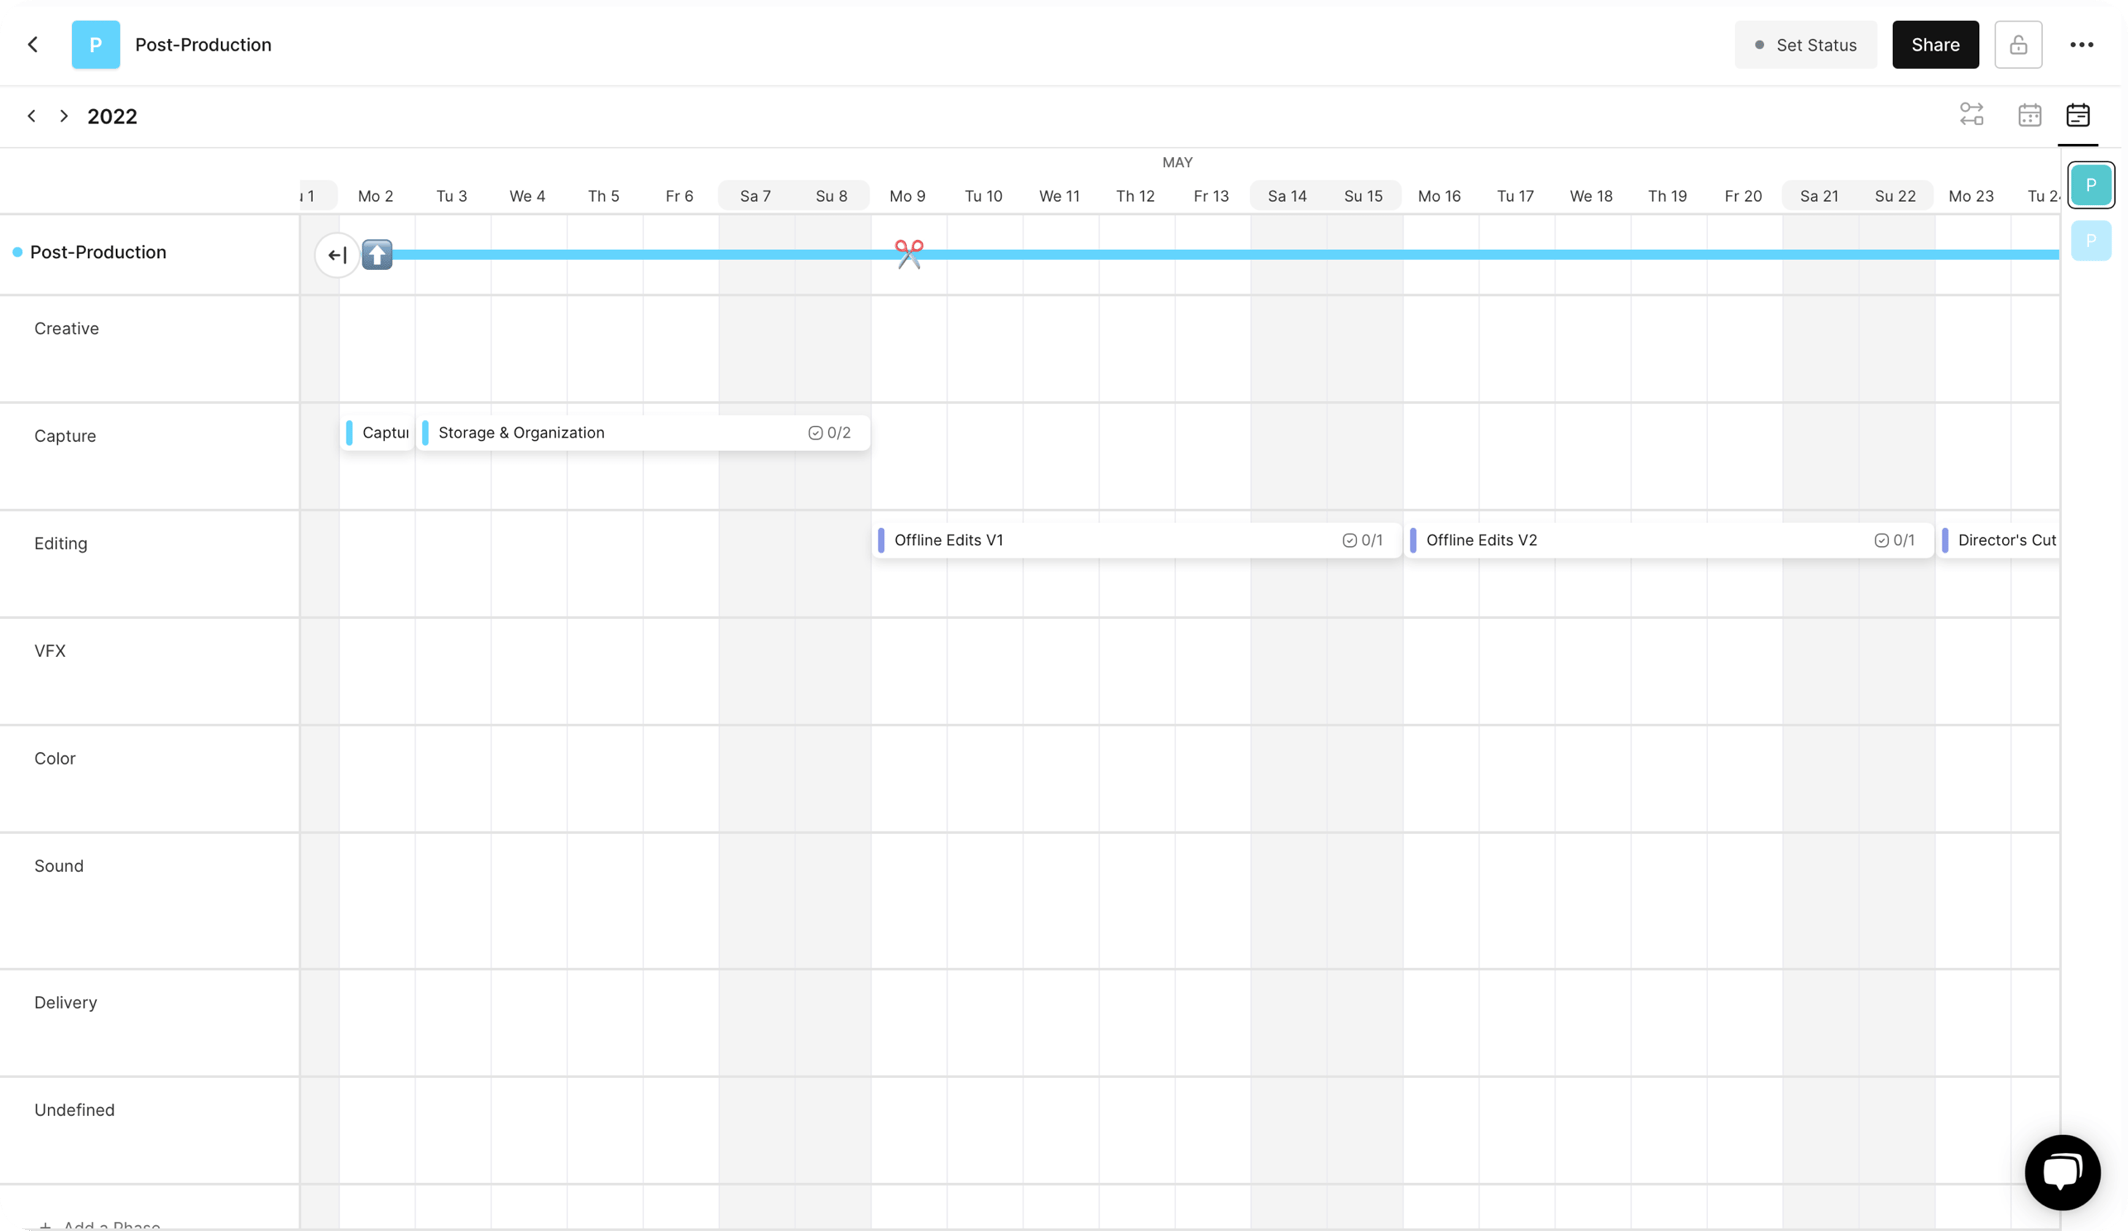
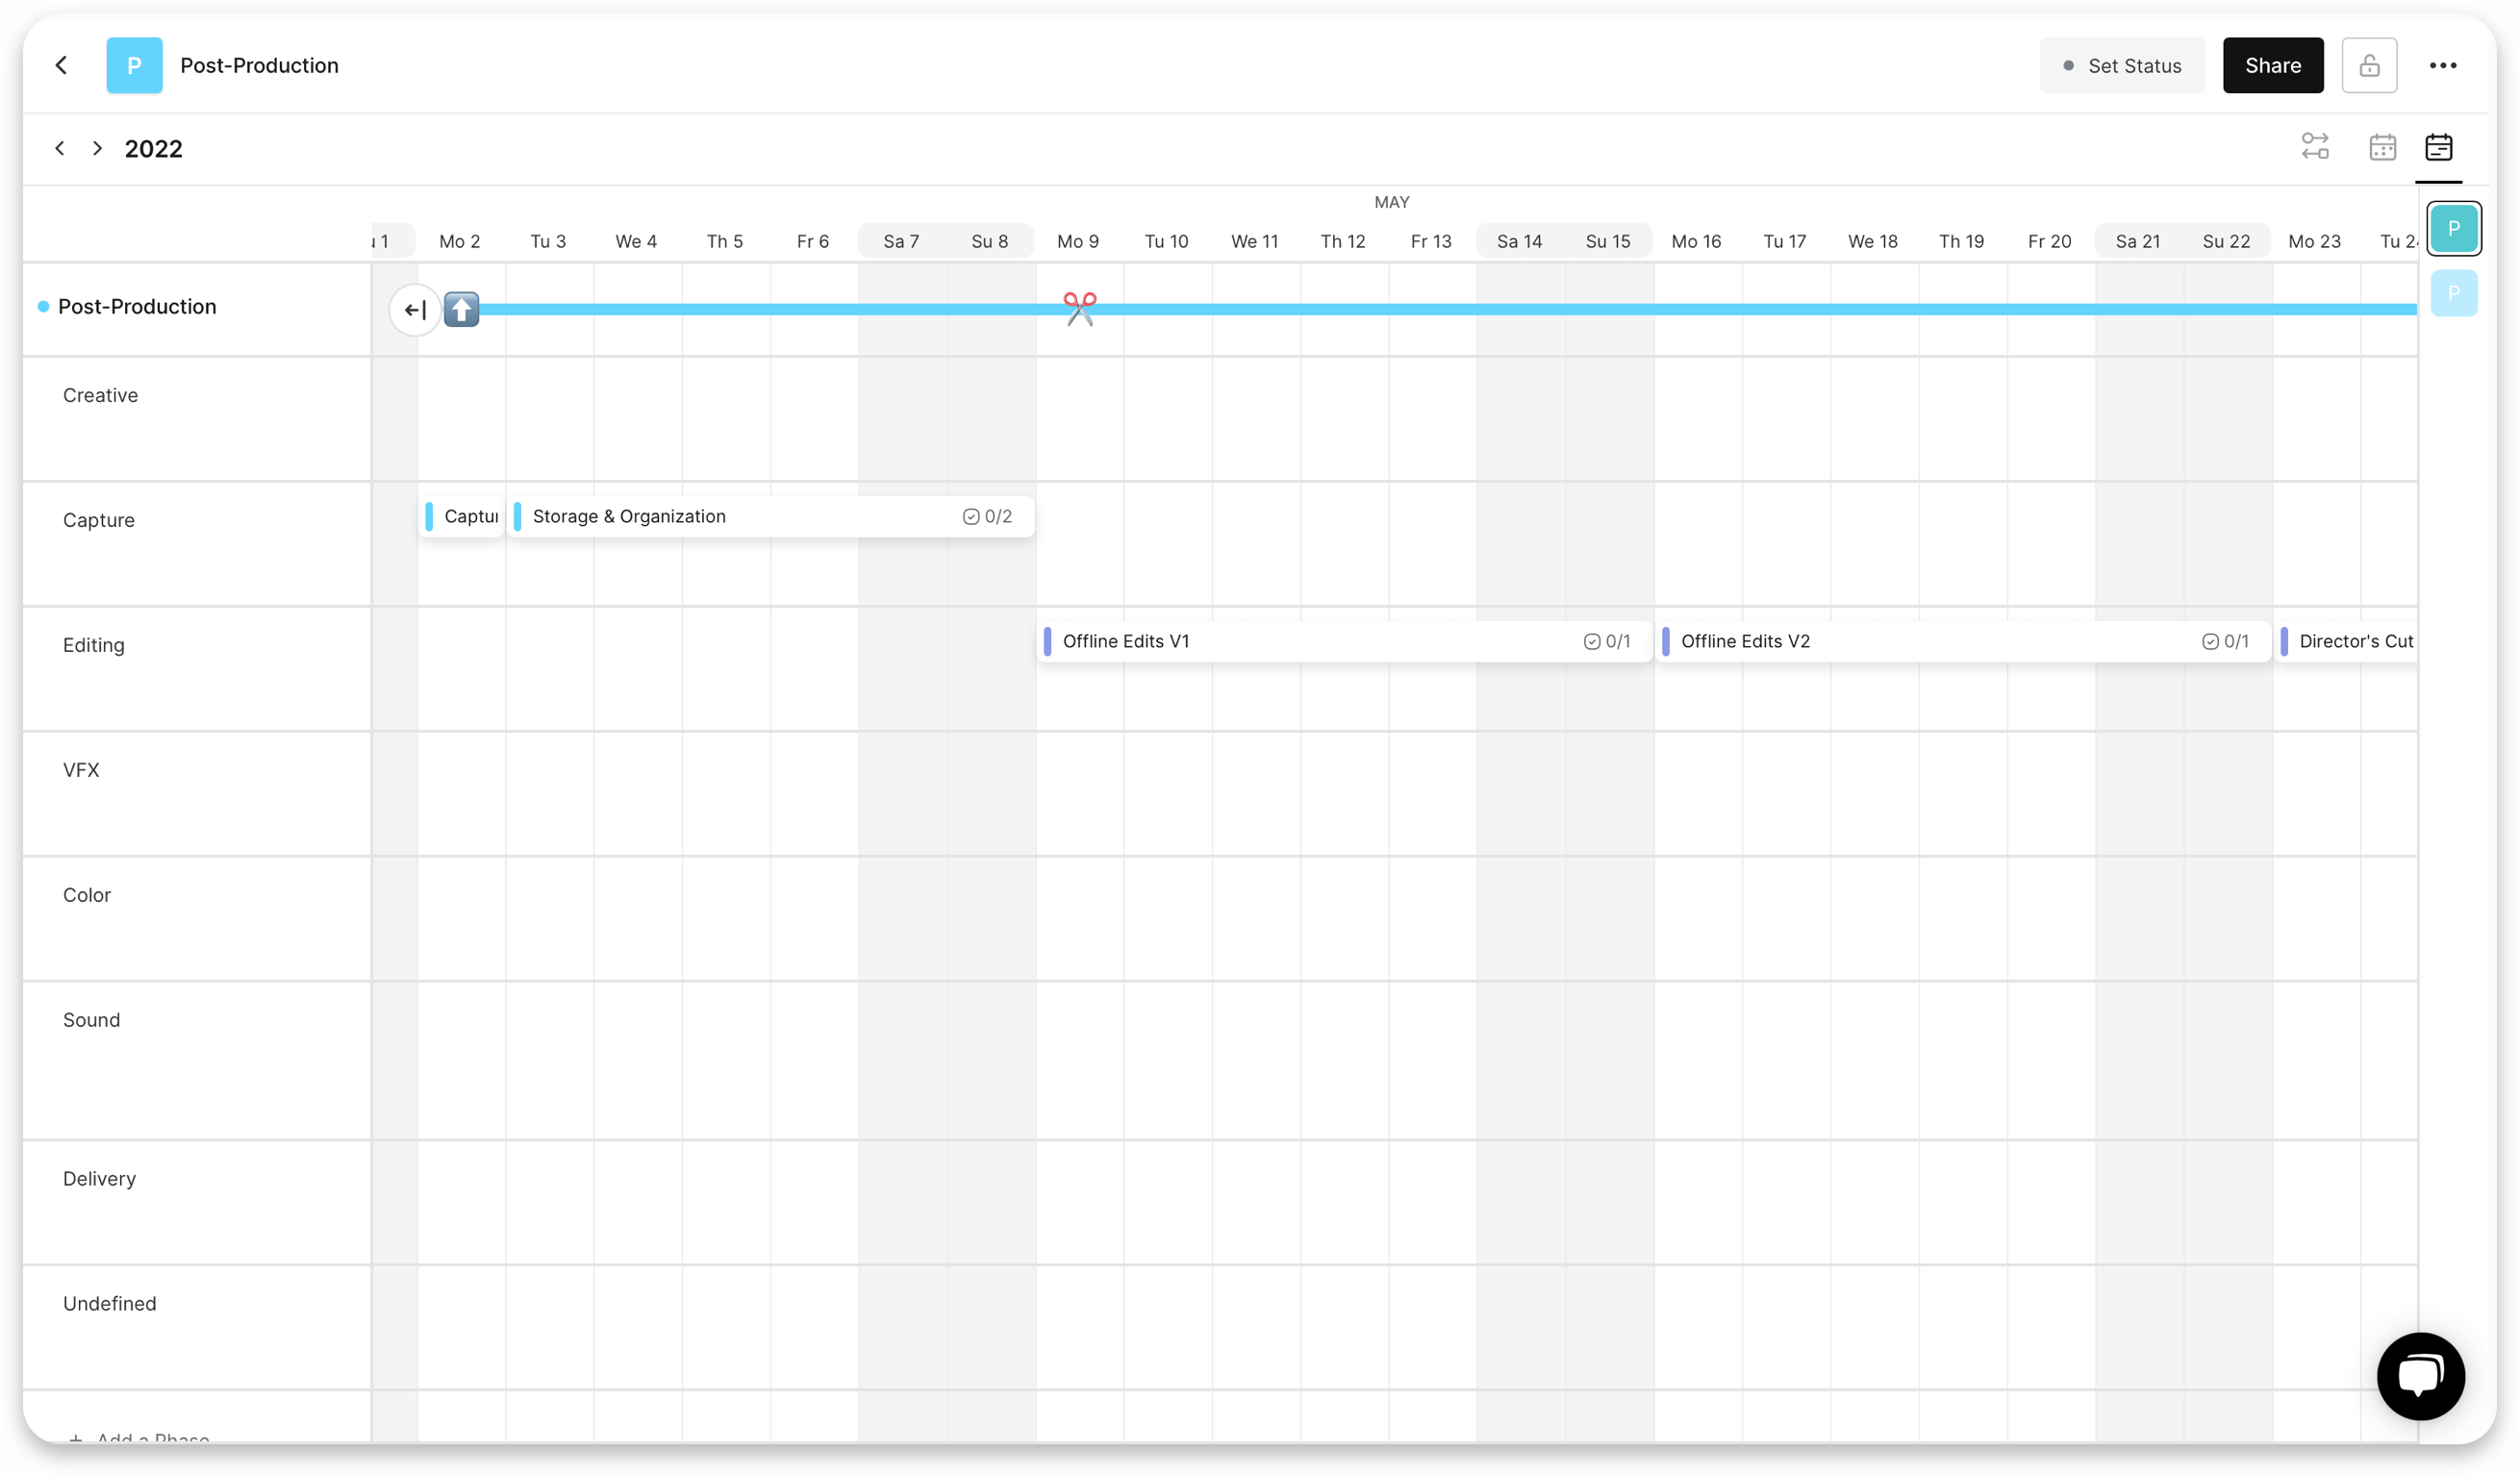
2. Review the Calendar
Once the project is setup, the entire calendar and task list will be auto-built based on your start date. Your calendar, along with all associated tasks, will be laid out for you to review.
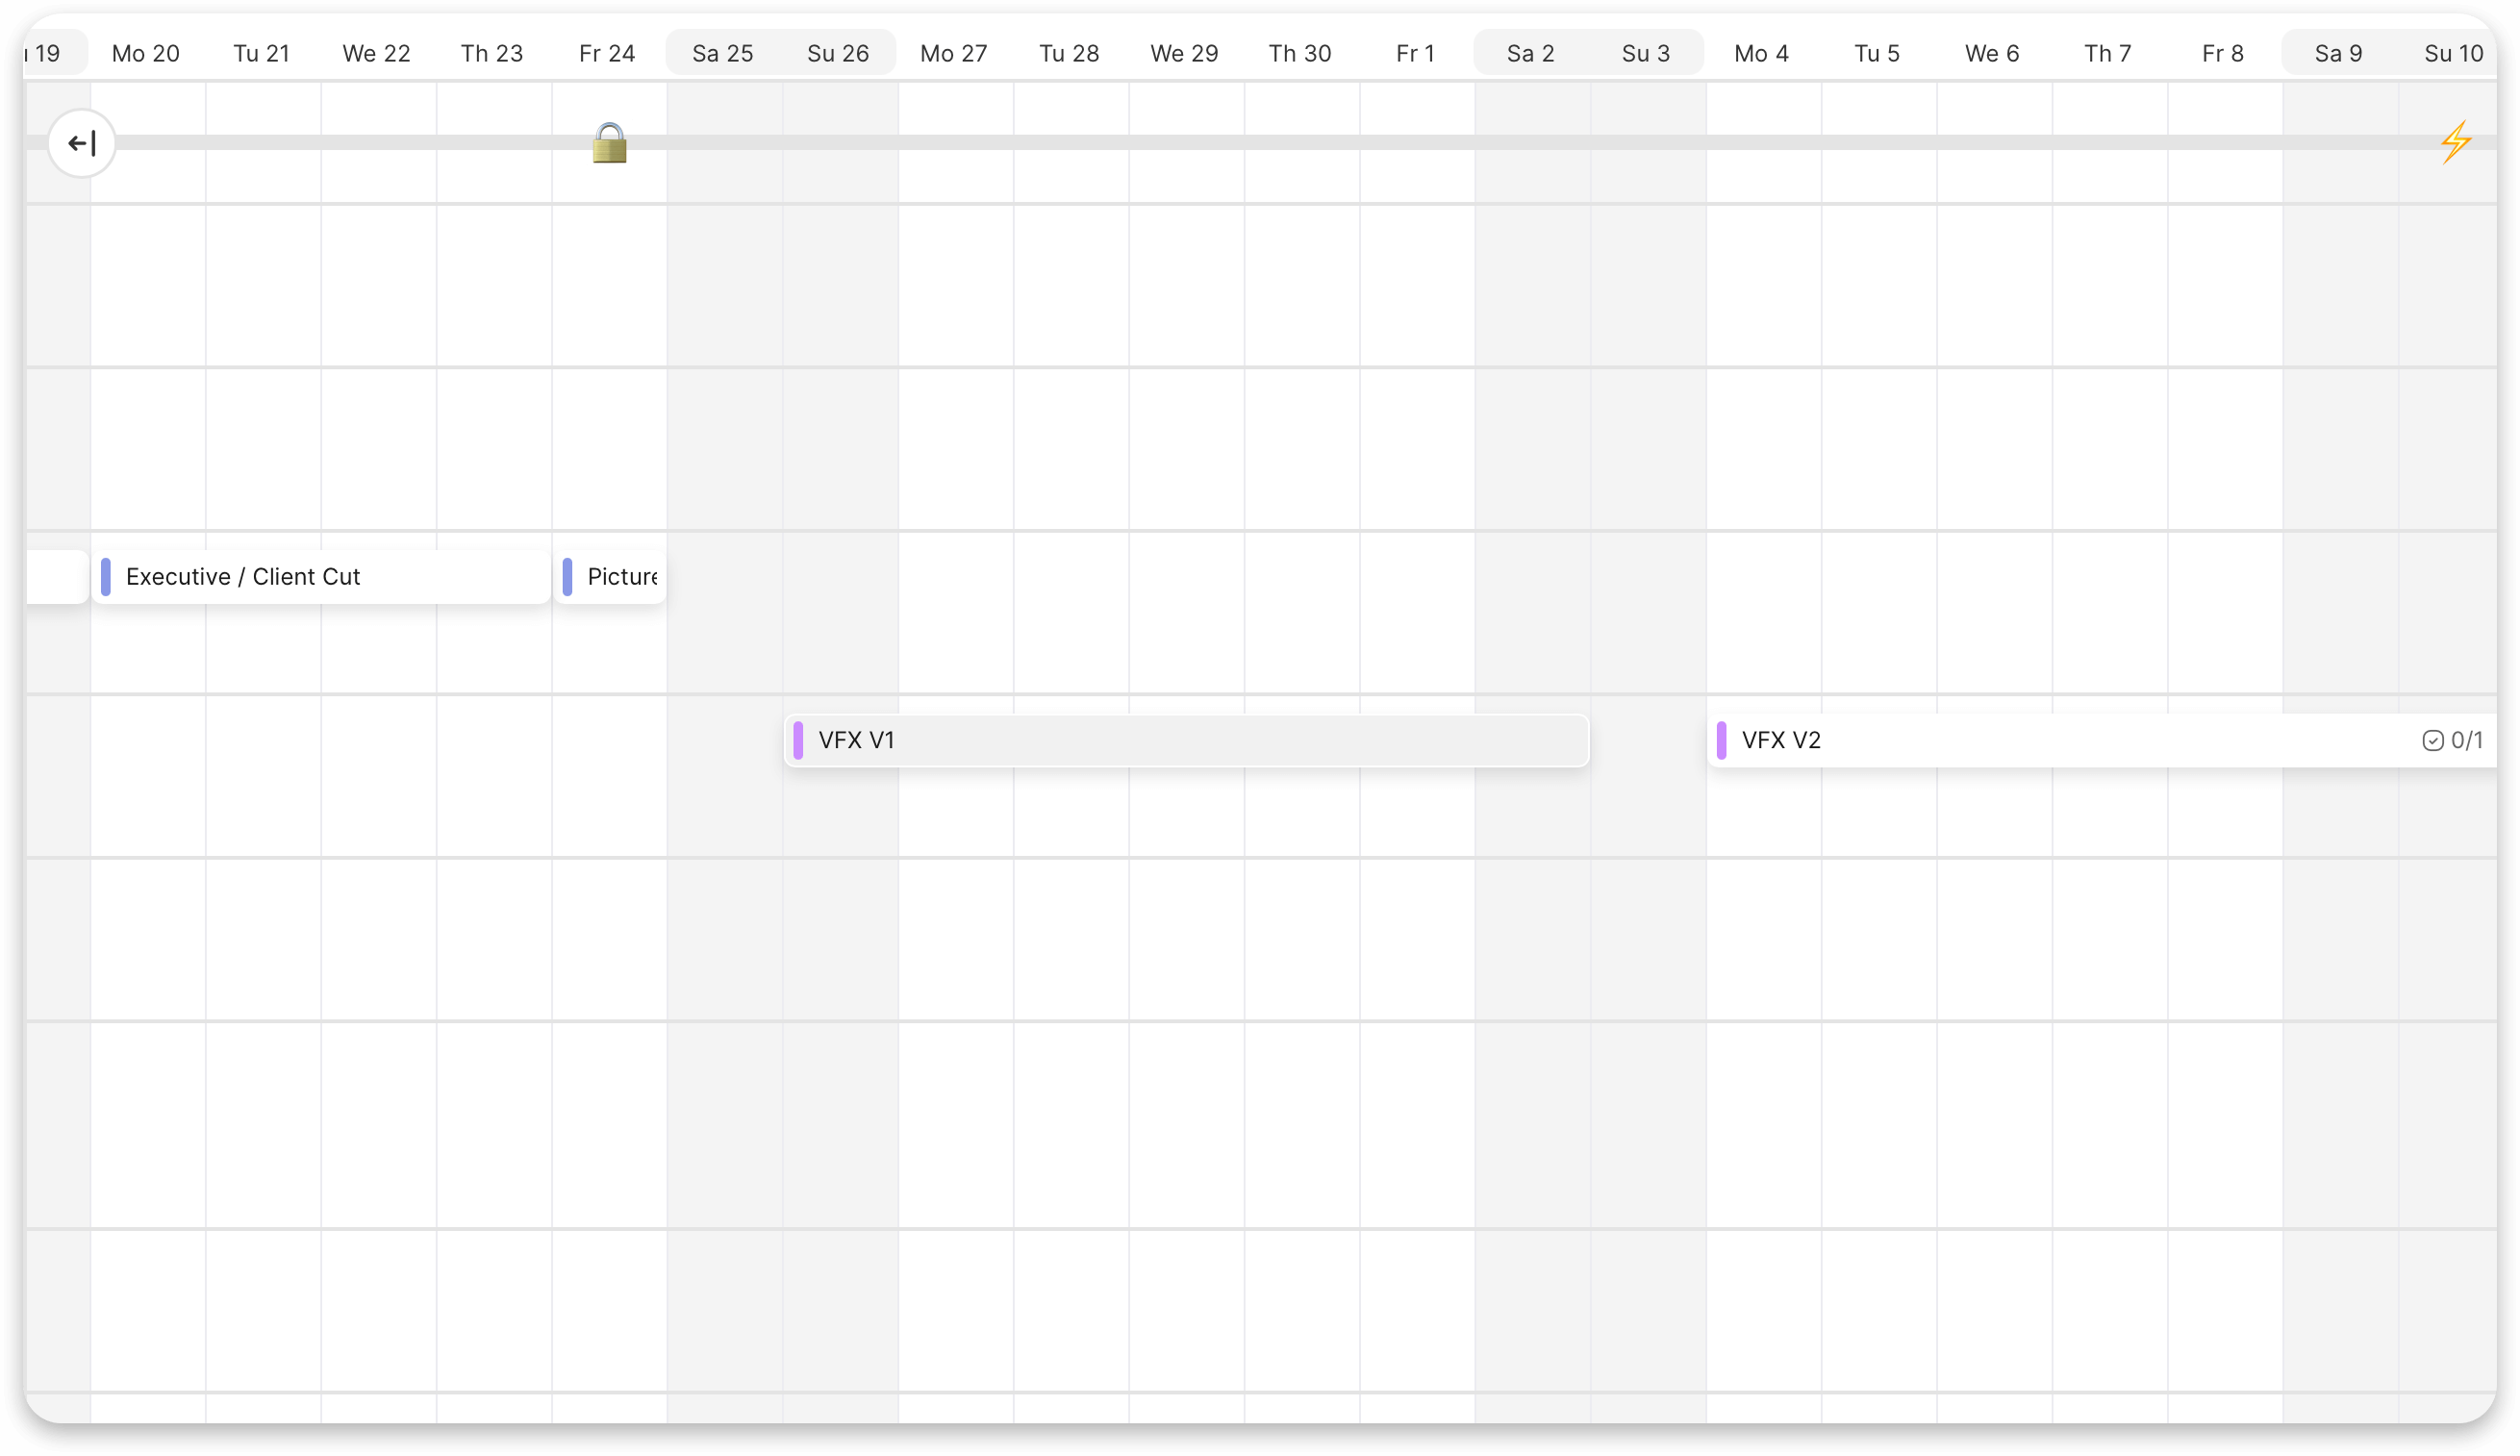
3. Make Changes to the Post Production Task List
You can then shift tasks on the calendar simply by dragging and dropping, adding or removing tasks, or making any other modifications based on the needs of your project.
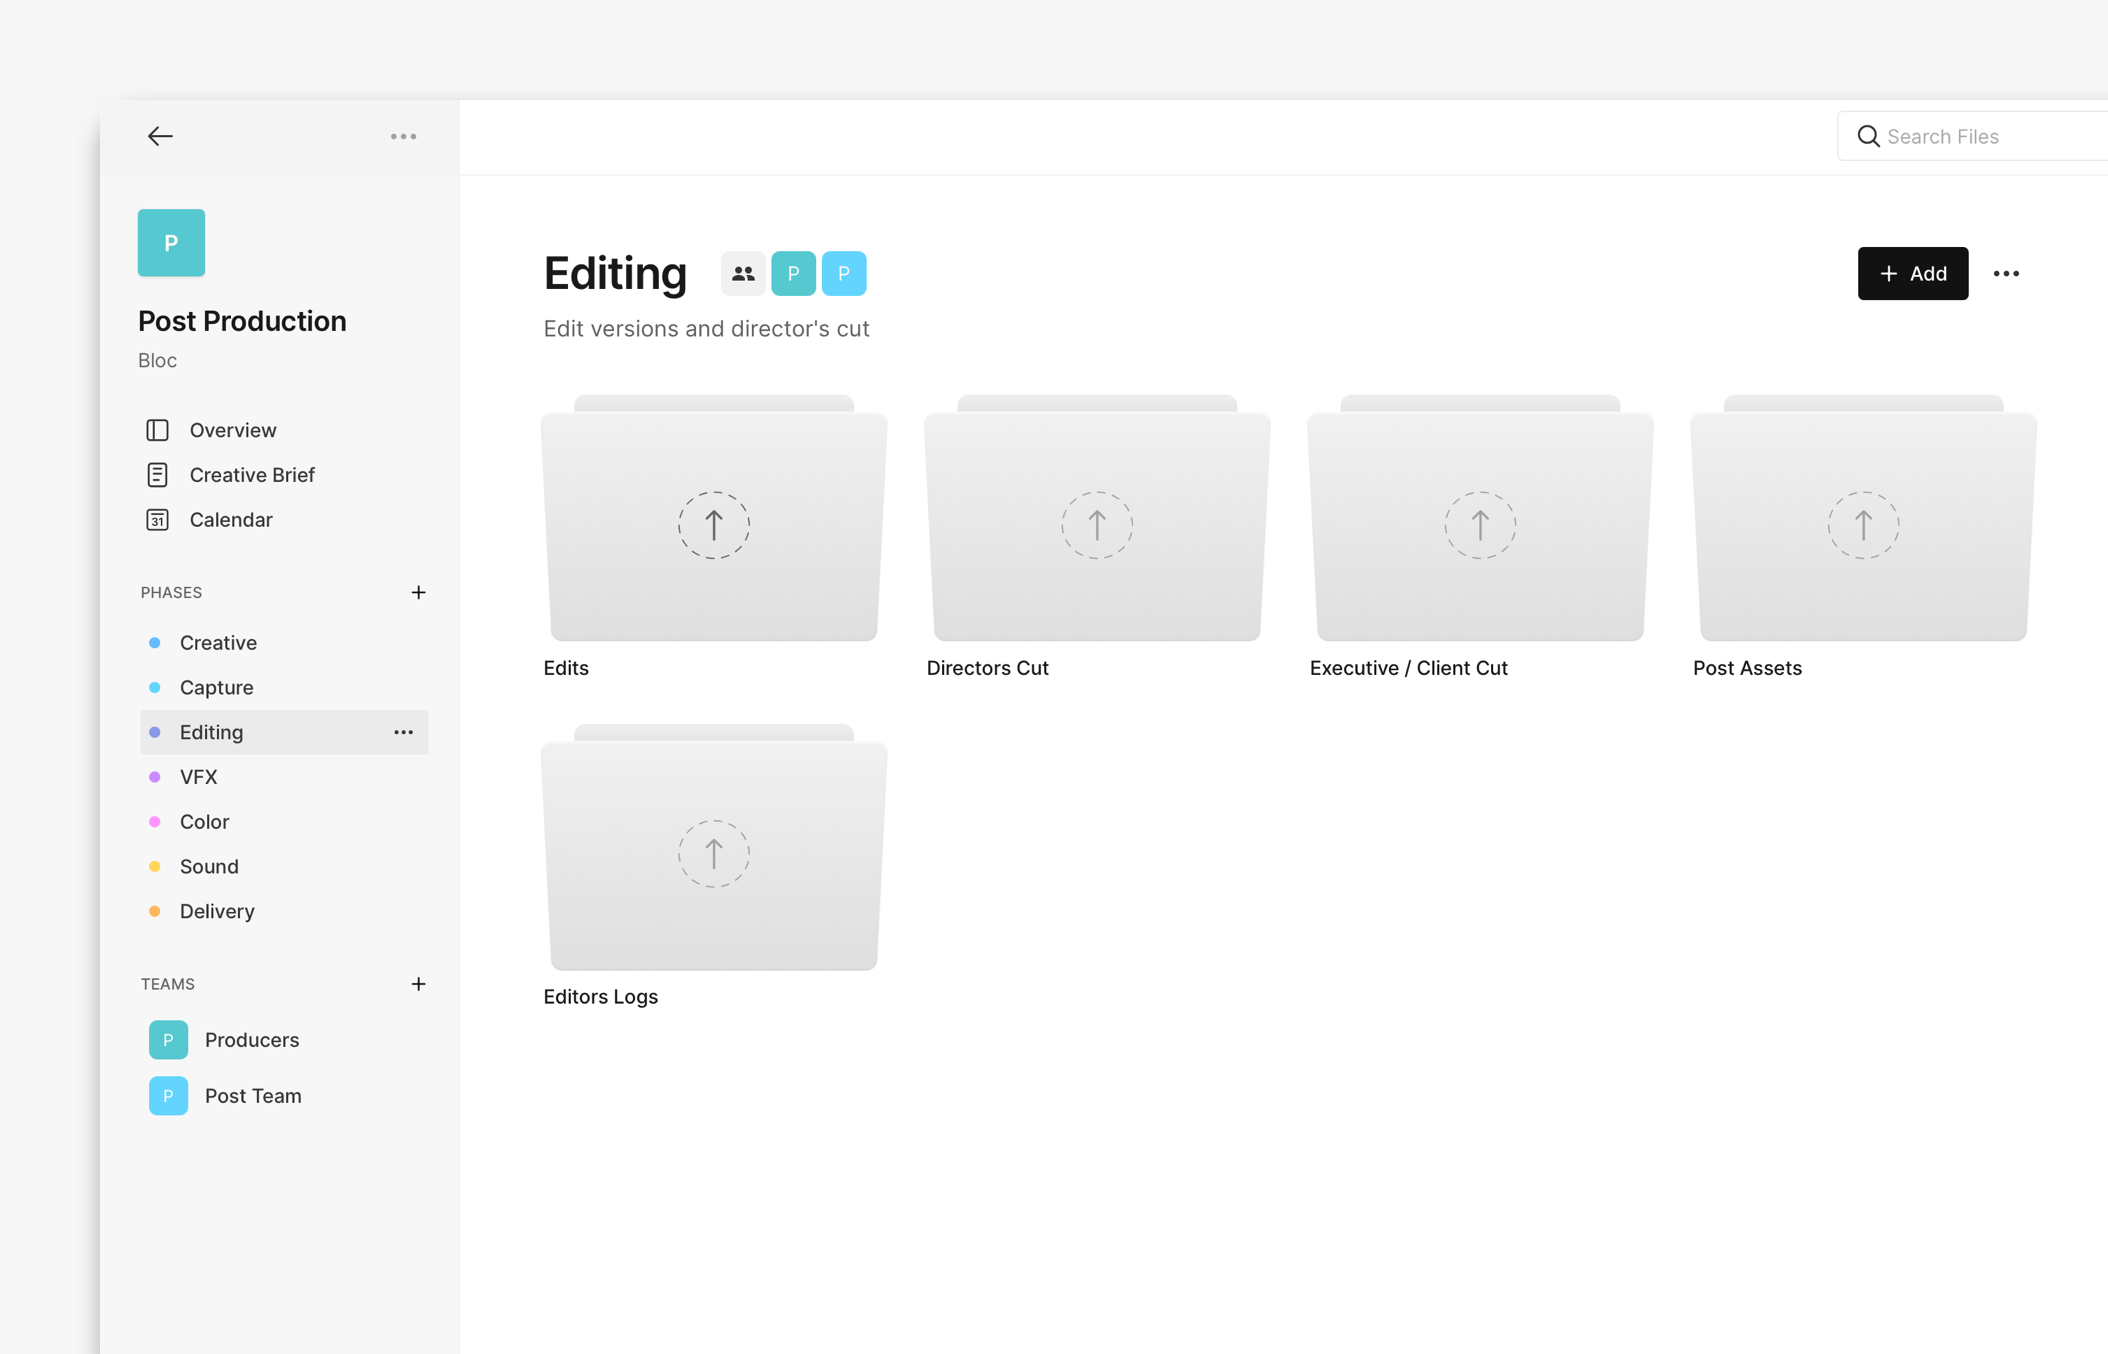
4. Organize Your Documents and Assets
In the project sidebar, you'll find all of the pre-built phases, organized with subfolders to help you keep track of your documents, files and assets from the start to finish of your project.
5. Invite Your Team
Finally, start inviting your team and assigning them tasks to get the project kicked off.
Managing Post-Production with Assemble
Assemble enables post producers to create a centralized hub to manage their entire project from start to finish - including calendars, task management, documents and asset management.
By using this post-production workflow template, you'll get access to all of Assemble's powerful features so that you can not only set a project up in seconds, but keep production moving quickly and efficiently with our advanced collaboration tools built for producers.
Get started for free today by clicking Use Template and begin exploring all of Assemble's powerful features.